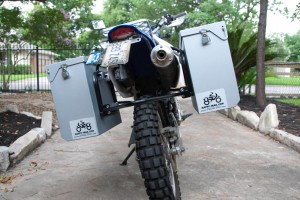
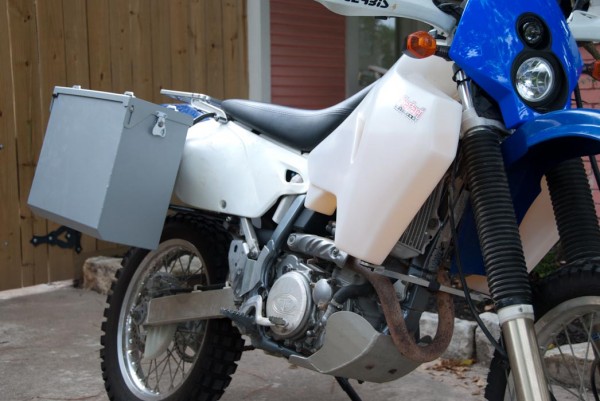
Happy Trails Teton hard luggage
I went back and forth multiple times on deciding which luggage would be right for my trip. I read Coolife Luggage Reviews and other luggage reviews. On my test ride to Colorado, I used soft bags. While I liked them and they had the advantage of being very light and not inclined to break a leg, I continually worried (probably irrationally) about the safety of my contents.
After researching a few options for hard bags, I went with the 39 liter Happy Trails Tetons. Several years ago, I had a V-strom and installed HT boxes on it and was very happy with the build quality. This time would be no different.
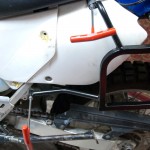
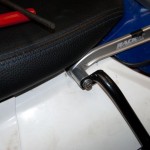
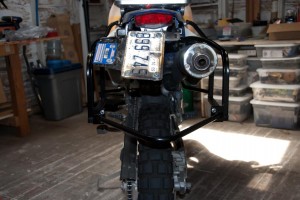
The instructions, while brief, were sufficient to easily install the luggage. As I recall from my last luggage installation attempt, I held up the rack to the bike and thought, “No way in hell is this going mount up”. Sure enough, after removing the passenger pegs everything fit nicely. I’m not very good at 3D puzzles and was amazed that the racks installed so smoothly.
The only thing that took a microsecond of thought was how was the rack system going to work with my pre-existing top rack. I used one of HT’s included spacers with my previous toprack mount setup.
The second side went fast. Remember to follow the directions that state to do a loose fitting first, then once everything is assembled, tighen down and use a threadlocker to prevent anything from backing out. The rack install took about an hour with another 15 minutes to mount the boxes the first time.
