daveg travels Rotating Header Image

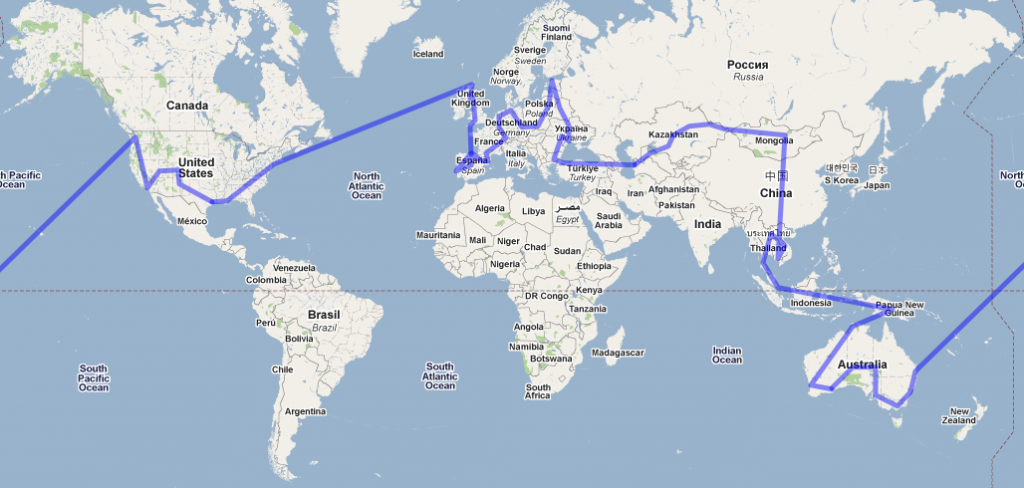
Possible Route

Route Map
Route Map

Planning a route is a hard thing.  For this trip, I haven’t done a ton of research on route.  I found with my last trip to TDF that the route naturally unfolded, even though the lines I drew on my map last time were just about right.   I probably watched too much Indiana Jones as a kid.

So these are the lines that I draw before I even prepare the bike.  If you have any route advice, please leave a comment or send me a email!

My main route planning is mostly relating to the logistics of shipping across oceans or impassable countries like China and figuring out what I need to temporarily import the moto into a country.

For instance, there are many counties that require a Carnet de Passage, a prepaid bond that proves to the government that you’re not going to sell your motorcycle inside their country.   A carnet isn’t required in any of the countries that I visited in Central and South America– but apparently it is needed in a bunch of countries in Asia.

Who knows exactly which route I will take.  One thing I do know is that I’ll leave to the West and come home via the East and prove to myself that we live on a sphere… or maybe a cone.. still not sure about the other way.  I’ve never been good at geometry.

Which bike?

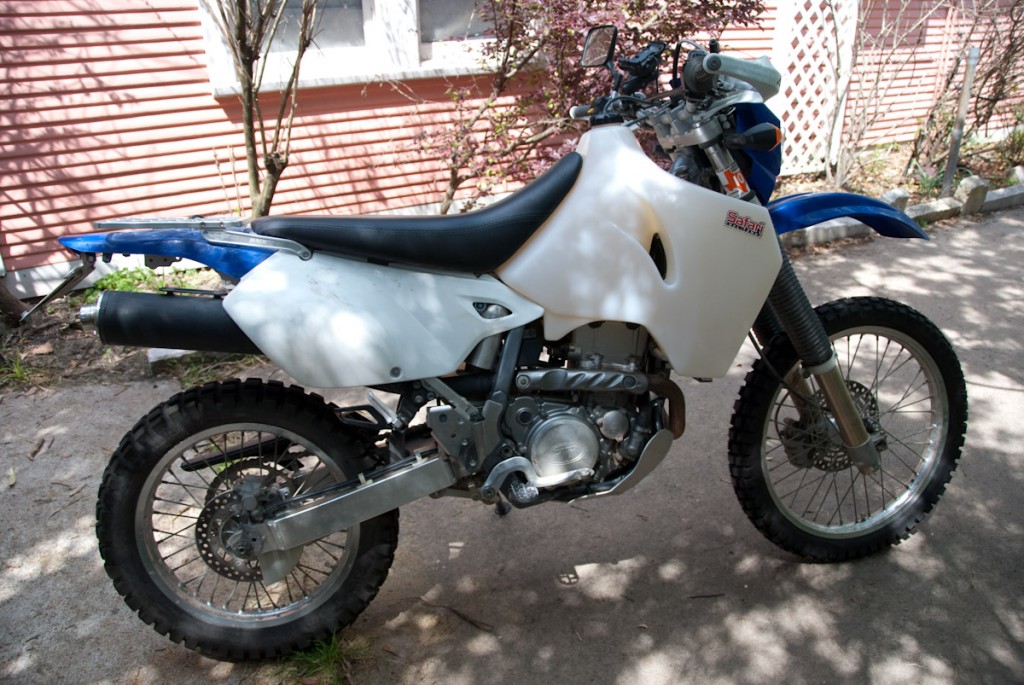
The DRZ

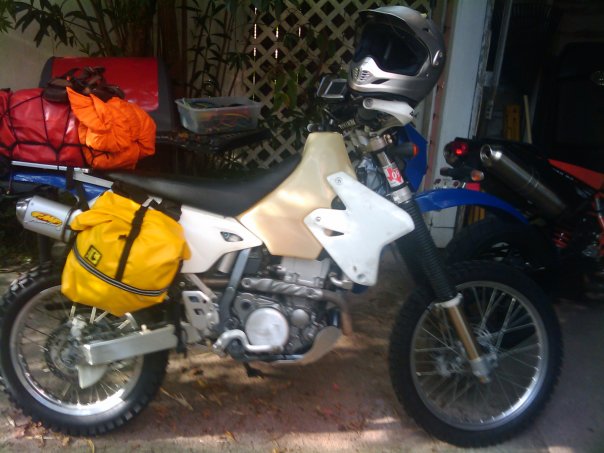
The New Travel Bike on its first test drive from Houston to Colorado

On advrider, everyone is always which bike is the best to take for some trip.  Yeah, it is a valid question, but to me it doesn’t matter much and people spend way too much time thinking or planning and not enough time taking the trip.  That being said, I spent weeks mulling over the ebike for sale I found and my old bike, and which bike to take :).
The Oil Man DG

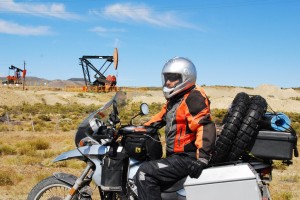
Dave in Southern Argentina on the BMW F650 GS

Of course I could take my trusty BMW F650GS that I rode to Argentina.  That bike did me well.  It has about 35,000 miles on it and I traveled through some pretty rough terrain for 17,000 of those miles through central/south America and the only problem I had with the bike was the starter button.  Just the botton.  Not the motor or anything.  Just the starter button.  Oh, well, I also blew a fork seal, but that was because I was running away from banditos who had 3 guns on me in Guatemala.

One lesson I learned on that last trip is that my F650GS was WAY TOO HEAVY.  I rode for several days offroad in Bolivia that convinced me that I needed a lighter bike.  The major trade off that people make when taking a smaller bike is that usually your max speed is reduced as well as is your carrying capacity.  No biggy.  I drive slowly in general and try to stay off the highways.  I pack super light.. so for me, the obvious choice was to take a smaller bike.

Why the Suzuki DRZ-400S?

I don’t remember exactly how I converged on choosing this bike as I never met anyone who had one.  I think it was just the first small bike that I saw online that could mount hard luggage onto it.

The DRZ is light at less than 300 lbs (135kg), has excellent ground clearance 11.8 inches (300mm), and has been around and proved to be a reliable machine.  Right.  I know what you’re thinking, it is a dirt bike!! Are you dumb?  No one runs a dirt bike more than a few thousand miles!  Yeah, well, I may be dumb, but according to the few others who have high milage DRZs, it seems like it’ll hold up well.  The other fact I came upon is that the same Suzuki motor is used in offboard marine motors for years.

Unfortunately, aftermarket accessories aren’t as good the DRZ as for any BMW motorcycle, but it looks like there are starting to become more and more good vendors out there as “Adventure Touring” people realize that if you want to actually enjoy riding offroad that you shouldn’t do it on a HUGE twin.

Specs?  Yeah, I’ve got em.

DRZ400S DR-Z400S K6 '06DR-Z 400 S 2006
Overall Length: 2,310 mm (90.9 in)
Overall Width: 875 mm (34.4 in)
Overall Height: 1,245 mm (49.0 in)
Seat Height: 935 mm (36.8 in)
Ground Clearance: 300 mm (11.8 in)
Wheelbase: 1,485 mm (58.4 in)
Dry Weight: 133 kg (293 lbs)
Engine type: Water-cooled 398 cc DOHC 1-cylinder, 4 valves. 48 hp (35 kW)/ 9,000 rpm, 41 Nm/ 7,500 rpm.

That’s what my motorcycle looked like originally.  My first real test of the DRZ was when I rode it from Houston to Colorado for the SALARR.  She did great!  Not only was I comfortable riding for 3 days in a row on the superslab of the highway, but was able to take my bags off the bike and ride some of the most challenging 4×4 passes in Colorado.  I want a bike that suites the most challenging and interesting parts of my trip the best– the offroad.  I’m making a pretty significant sacrifice for highway driving, but I think it’ll be worth it.  Afterall, my friend Cecilia said it best, “The nicest people live on gravel roads”.

Shots!

Time for shots.  I forgot how expensive they can get, but based on the variety of places that I’m going, I needed to get quite a few but only got my Hep A/B shot today as they didn’t have records of my other shots.  Unfortunately when my money belt was liberated from me in Guatemala, it had my shot records.  Fortunately, I had a photocopy but didn’t bring it with me.  I’m still not sure if I need to get a few other vaccinations.

To figure out what vaccinations I needed, I got them from the traveler information page at the CDC.  South East Asia requires so many immunizations that they will cover me for all the other countries I will visit in Central Asia.  I need to get:

  • Standard Vaccinations: measles/mumps/rubella (MMR) vaccine, diphtheria/pertussis/tetanus (DPT) vaccine, poliovirus vaccine
  • Hepatitis A/B
  • Typhoid
  • Rabies
  • Japanese encephalitis I’m not sure if I’m going to get JE because it is so rare.  Any advice?

So far I’ve completed my entire Hep A/B series (3 shots) and Typhoid.

Status Update and Installing the Aqualine 28 Liter Safari tank for the DRZ

Wow.  It’s already been a couple of weeks since I quit my job and time seems to be flying.  I’m still working on getting my Houston life in order before I can even officially start preparing the bike.  I’m certainly enjoying my time not having to wake up but my days are still just as full.  The only bad part is that I’m still not shifted my spending habits into Frugal Traveler Mode.  I’m still going out with friends to bars and to eat.  I have to stop and return to my life of rice and canned tuna.  It is just a frightening thing to no longer see deposits into my bank account.

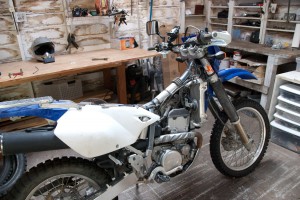
Here she is ready to accecpt the new tank

I have managed to sneak a little bike work by installing my Aqualine 28 liters Safari tank from JustGasTanks.com.  They generously gave me a discount lessening the blow of transforming a trail riding bike into a world tourer.

Installation Overview

The install was very simple. The most difficult part was cleaning the tank of all the plastic shavings that remained in it after manufacturing.  There was a bit of flashing and tons of shavings from the various drilled holes like the petcock.  I just followed the instructions of using a little bit of fuel and shaking it around the tank until it comes out clean.  This process took about 30 minutes of manhandling the giant plastic beast.

The instructions were perfectly clear as I couldn’t really add anything here to be helpful other than to iterate again… remove ALL the plastic shavings.

All ready for the test ride

The actual installation took only 5 or 10 minutes of removing the old tank and fitting the Safari tank in place.

Safari Tank Review

After filling up the tank completely, not surprisingly the riding characteristics of the bike changed completely.  The bike was still nimble enough to ride filled up, but was hardly nimble.  I don’t know if it just took a while to get used to the added weight or if was just burning the top gallon lightened the load enough such that it was no longer as bad of a pig.  I rode the bike with it about 80% full offroad a bit just in the neighborhood and it was okay.  My stock suspension wasn’t bottoming out or anything, but it was fairly squishy.

In the future I won’t fill up the tank to the top as I’ll rarely need the 300+ mile range that it affords.  The tank is HUGE but didn’t really weigh much more than the stock when it was empty.

The tank is no wider than the handlebars and is no harder to weave in and out of traffic

I still have a ton of things left to do to the bike like install my Happy Trails hard panniers, Trail Tech X2 headlight, and Vapor computer.  I also have a bunch of maintenance items to address as well as a few other little things.  Both HT and Trail Tech were amazing and decided to donate equipment to support my ride.

Trail Tech X2 Aftermarket Headlight installation on the DRZ

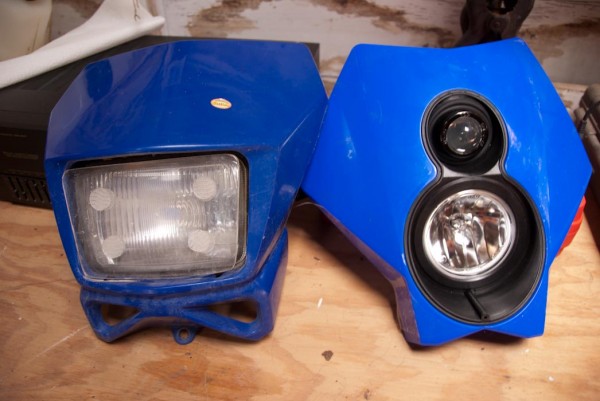
Trail Tech generously supported my ride by providing me a X2 headlight to install on the DRZ.  The stock headlight doesn’t provide much light and the overall aesthetic makes the bike look dated.  There are a couple of other aftermarket headlight kits for the DRZ, but the X2 was my first choice.  I went with their on/off road halogen so that I wouldn’t be blinding cagers as I pass them.  I also wanted a simpler technology if the HID would fail in a remote part of the world.  I’ll be able to get a halogen replacement bulb anywhere in the world.

compare

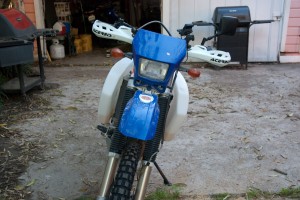
Check out the difference between the two headlights. The X2 is a nice modern looking headlight

Installation

The instructions are very clear that came with the kit, so I’ll be pretty brief here with my post and let the pictures do the explaining.  It took less than an hour.

First I removed the stock headlight (for sale, btw, email me!).  The first part of it was pretty easy to remove, just a few bolts.  The cage which the headlight was mounted on was a bit trickier.  You need to drop the forks.  This seems like a big deal but was really quite simple.  Place the bike on a center stand/jack stand such that the front wheel is hanging in the air.  Ready a couple of bricks so that you’ll have a place for the wheel to rest on while you’re working on removing the cage.  Note or mark where the forks are currently positioned relative to the top clamps.  Then loosen them at the top and bottom clamps slowly.   Do this slowly because it’ll want to drop out beneath you if you just crank it loose.

Headlight removed drz

Fork Dropped

Because of how I had my bike suspended, I wasn’t able to get the front wheel low enough so that the cage would slip out entirely at once.  I just got it low so that with a gentle bend the cage could be removed.  Upon removal, it was easily bent back in position without any appreciable wear to the part.

Old headlight is now removed

The next step was simply as stated in the instructions, undo the front fender and mount the underpinning plastic part on top of the front fender.  The final step is to mount the headlight on the plastic pins and attach it with the rubber straps.  You may have to reposition the nest of wires a few times to find a way to get the headlight to mount flat.  It took me about 5 minutes of trying a few different places followed by testing everything by turning the bars back and forth.

Testing / Impressions

I could barely wait until the sun set to do the test ride.  Even with just the halogen, the difference was remarkable.  I’m going to see if I can meet up with my friend who has a stock DRZ light installed to do a live comparison.  Not only does it work better, but it is 100x cooler looking and really updates the overall look of the DRZ.  I’m going to revisit the installation in a couple of months and see how the Trail Tech X1 Halogen holds up to RTW torture.

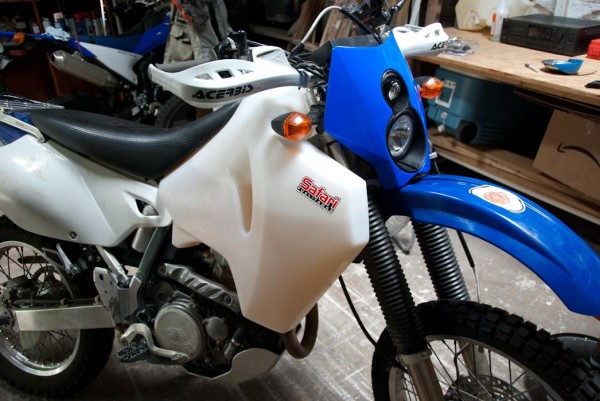
Finished

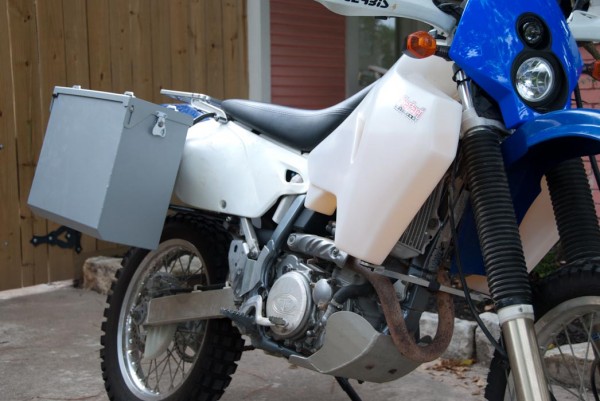
Here's a quick snapshot of the completed installation.

The bags really make transform the bike form trail bike to travel bike. Yay!

Happy Trails Hard Luggage Installation for the DRZ

I went back and forth multiple times on deciding which luggage would be right for my trip.  On my test ride to Colorado, I used soft bags.  While I liked them and they had the advantage of being very light and not inclined to break a leg, I continually worried (probably irrationally) about the safety of my contents. The main thing for this trip was to travel, then I learned about investment opportunities in the city, so I needed to get everything prepared, here you can how to buy turnkey rental properties, I will let you know how it goes for me.

After researching a few options for hard bags, I went with the 39 liter Happy Trails Tetons.  Several years ago, I had a V-strom and installed HT boxes on it and was very happy with the build quality.  This time would be no different.

Loose fitting

The instructions, while brief, were sufficient to easily install the luggage.  As I recall from my last luggage installation attempt, I held up the rack to the bike and thought, “No way in hell is this going mount up”.  Sure enough, after removing the passenger pegs everything fit nicely.  I’m not very good at 3D puzzles and was amazed that the racks installed so smoothly.

Spacer used in combination with my existing top rack mounted fine

The only thing that took a microsecond of thought was how was the rack system going to work with my pre-existing top rack.  I used one of HT’s included spacers with my previous toprack mount setup.

Racks installed

The second side went fast.  Remember to follow the directions that state to do a loose fitting first, then once everything is assembled, tighen down and use a threadlocker to prevent anything from backing out.  The rack install took about an hour with another 15 minutes to mount the boxes the first time.

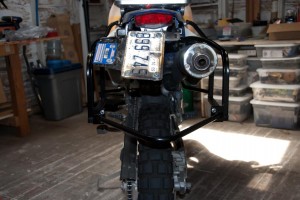
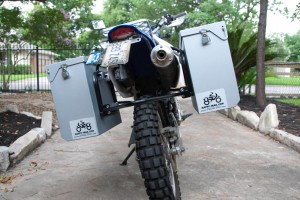
Finished installation, rear view

The Happy Trails Tetons really transform the bike form trail bike to travel bike. Yay!